Tactical Dog Training Harness
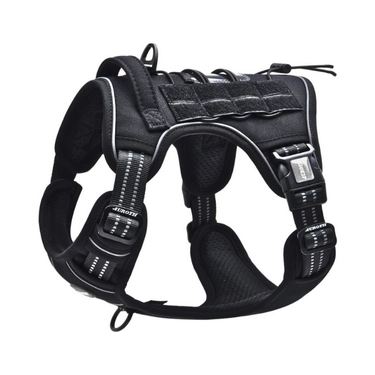
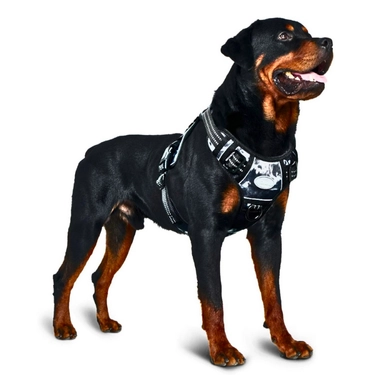


Tactical Dog Training Harness
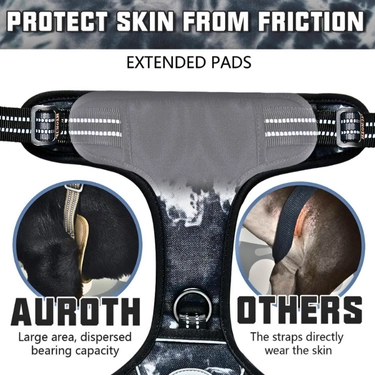
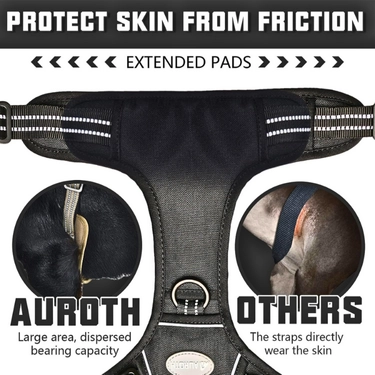
- Widened design; not strangle the neck when worn; uniform force; no skin abrasion.
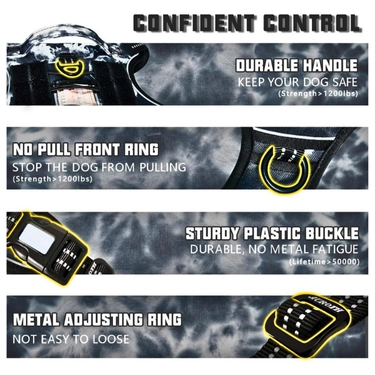
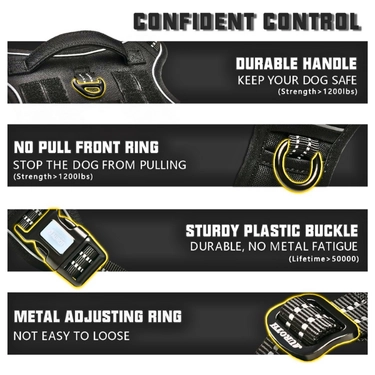
- Multi-layer strong handle, fine and strong workmanship, wear-resistant, and durable.
- Lighting design, uniform force, selected fabrics, softness, and skin-friendliness.
- Let your pet’s nature be released; run freely without hurting your body.
- Strong buckle, safe and firm, easy to wear, safe and anti-breakaway.
$17.99 – $20.99Price range: $17.99 through $20.99
Payment Methods:

Description
Equip your dog with the strength and reliability of a Tactical Dog Training Harness, designed for service animals, working dogs, and active pets that require secure and durable gear. Whether you’re training, hiking, or navigating busy environments, this heavy-duty harness offers maximum control, comfort, and customization.
Constructed from military-grade materials, it’s made to endure tough conditions while keeping your dog safe and comfortable. The adjustable fit, padded interior, and reinforced stitching ensure long-term wearability without compromising flexibility or movement. Featuring dual leash attachment points, quick-release buckles, and a MOLLE system, this harness offers tactical functionality for serious dog handlers.
From professional K9 units to adventure-seeking pet owners, this harness delivers the strength and support you need, no matter the mission.
Features:
- Crafted from high-strength nylon or similar tactical-grade fabric with reinforced stitching for extreme durability.
- Metal D-rings on both the chest (for no-pull control) and back (for standard walking and activities).
- Multiple adjustable straps across the neck and chest ensure a snug, chafe-free fit for dogs of all shapes and sizes.
- Secure and easy to operate, the robust buckles allow fast on/off with no hassle.
- Soft mesh or foam lining prevents rubbing and distributes pressure evenly for enhanced comfort during extended use.
- Attach pouches, gear, or identification patches with integrated MOLLE webbing and Velcro panels.
- Provides full-body control in emergencies, for lifting, assisting over obstacles, or handling in close quarters.
- Lightweight, ventilated materials help regulate heat and reduce discomfort during intense activity.
Instructions:
- Loosen all adjustable straps before putting the harness on your dog.
- Slide the harness over the dog’s head with the chest D-ring facing forward.
- Fasten the side buckles securely around the belly and adjust the straps for a snug but comfortable fit.
- Ensure two fingers of space between the harness and your dog’s body to avoid tightness or chafing.
- Attach a leash to the front D-ring for training or to the back D-ring for casual walks.
- Use the top handle for immediate control when needed.
Warnings:
- Not intended for tie-out use. Do not leave your dog unattended while harnessed.
- Check the fit before each use, especially on growing dogs or after heavy activity.
Customer Reviews
Only logged in customers who have purchased this product may leave a review.

Reviews
Clear filtersThere are no reviews yet.